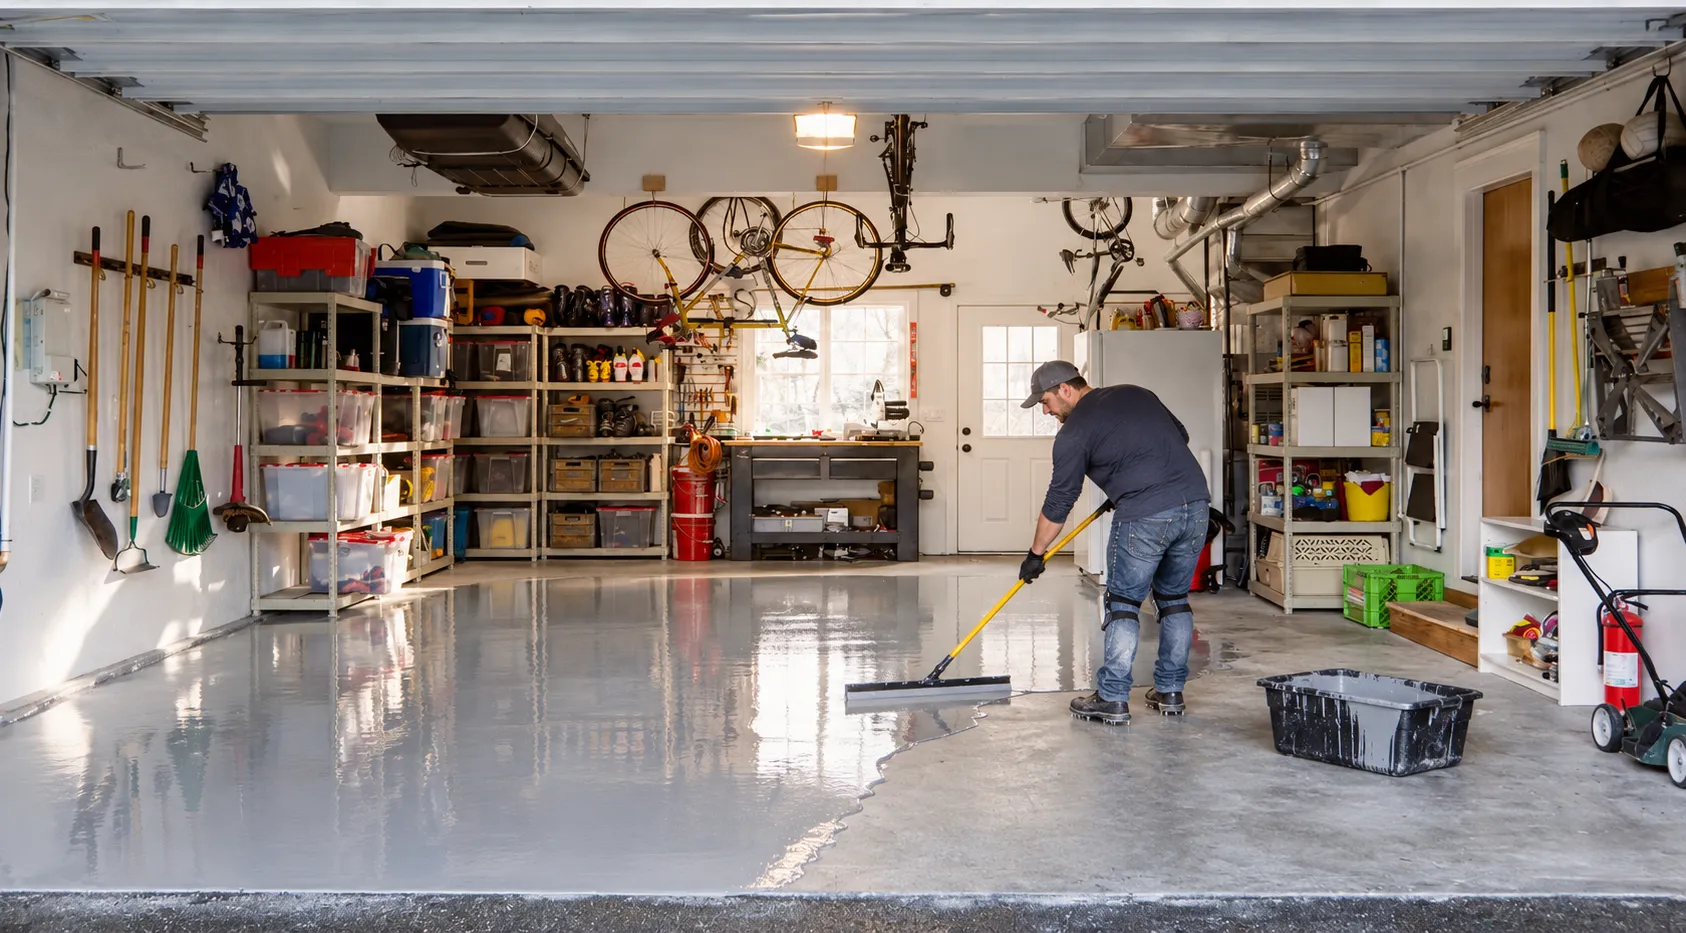

You can epoxy your garage floor yourself using a suitable two-part epoxy kit, proper surface preparation and the correct application technique. However, achieving a durable finish requires more than cleaning the concrete and applying a coat of epoxy.
You need to assess the slab, remove contaminants, prepare the surface, mix the coating correctly and allow sufficient curing time.
A DIY epoxy garage floor can be a cost-effective option for homeowners with sound, dry concrete and some home improvement experience. However, floors with moisture problems, extensive cracking, heavy oil contamination or failing existing coatings may require professional preparation.
This guide explains the complete DIY epoxy garage floor installation process, including the materials and tools required, concrete preparation, coating application, curing times, common mistakes and costs. It also helps you decide whether DIY installation is practical for your garage.
What Do You Need to Epoxy a Garage Floor?
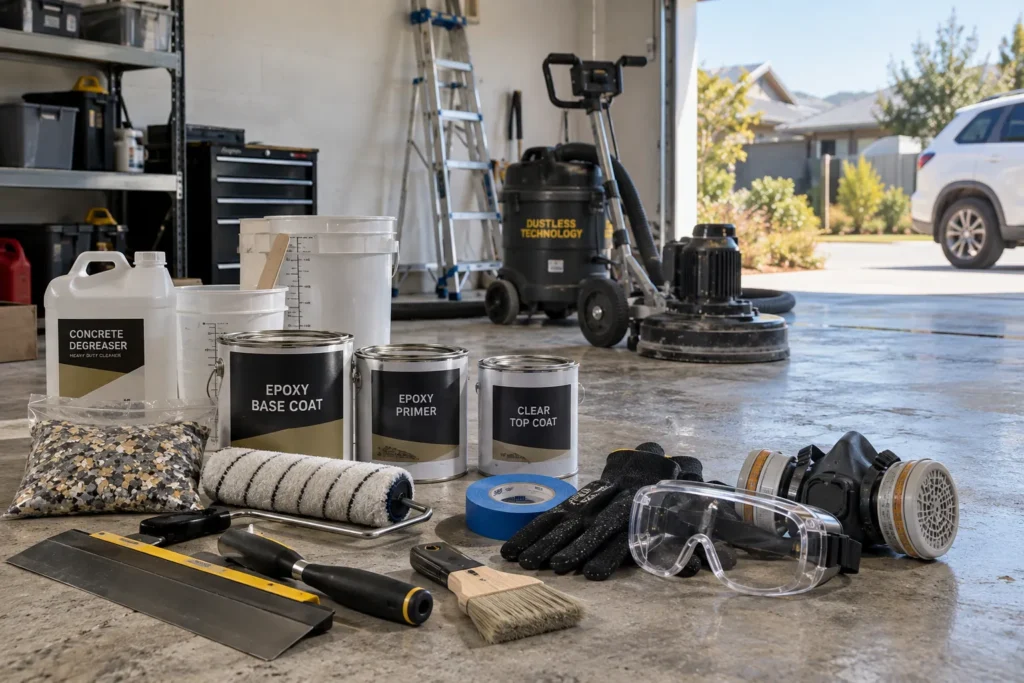
To epoxy a garage floor, you need a suitable epoxy coating system, surface preparation equipment, application tools and personal protective equipment (PPE).
The exact materials depend on your concrete condition, garage size and whether you want a solid-colour or decorative flake finish.
Choose a complete garage flooring system with compatible components rather than combining unrelated primers, base coats and topcoats.
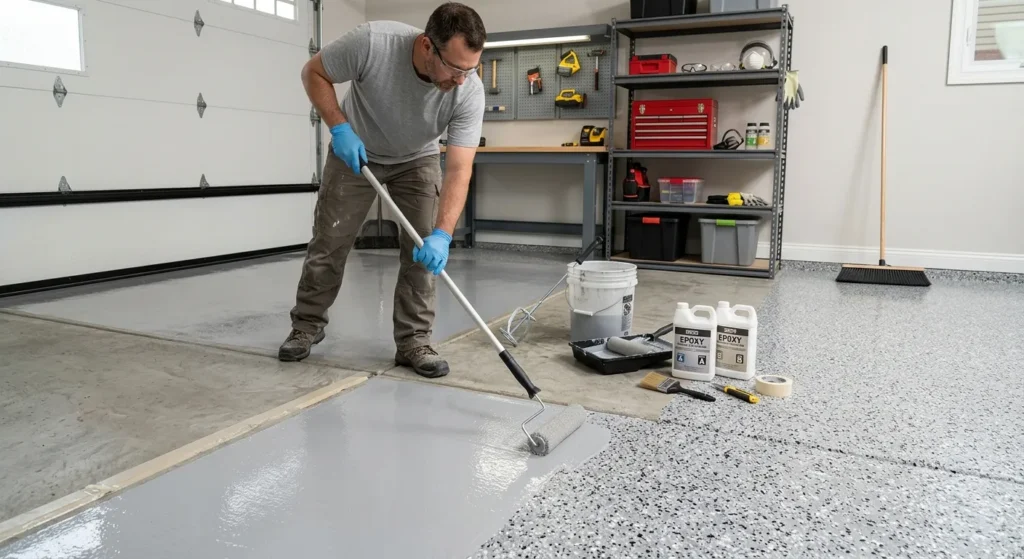
Epoxy Primer, Base Coat, Decorative Flakes and Topcoat
A multi-layer epoxy flooring system generally includes a primer, coloured epoxy base coat, optional decorative flakes and a compatible clear topcoat.
| Material | Purpose |
| Epoxy primer | Promotes adhesion between the prepared concrete and subsequent coating layers. |
| Epoxy base coat | Creates the main coloured coating and protects the concrete against everyday wear. |
| Decorative flakes | Provide a decorative finish and help disguise minor dirt and surface marks. |
| Clear topcoat | Protects the base coat and flakes against abrasion, staining and daily traffic. |
| Anti-slip additive | Adds texture where additional slip resistance is required. |
| Concrete repair compound | Fills suitable cracks, pits and damaged areas before coating. |
Tools and Equipment for Surface Preparation and Application
Prepare all the necessary tools before starting. Once epoxy resin and hardener are mixed, you have a limited amount of time to apply the coating.
| Tool or equipment | What you need it for |
| Concrete diamond grinder | Removes surface contamination and creates a suitable concrete profile. |
| Compatible dust extractor | Captures hazardous concrete dust during grinding. |
| Concrete degreaser | Removes oil, grease and other contaminants. |
| Stiff-bristle brush | Scrubs stained or contaminated concrete. |
| Moisture testing equipment | Checks whether the concrete meets the coating manufacturer’s moisture requirements. |
| Measuring tape | Calculates garage floor area and coating quantities. |
| Mixing paddle and suitable drill | Mixes the epoxy resin and hardener. |
| Clean mixing buckets | Holds the coating during mixing and application. |
| Paint rollers and extension poles | Distribute the epoxy evenly across the floor. |
| Cutting-in brushes | Apply coating along walls, corners and other difficult areas. |
| Notched or flat squeegee | Spreads compatible high-build epoxy systems at the specified application rate. |
| Painter’s tape | Protects skirting, walls, drains and door thresholds. |
PPE and Safety Equipment
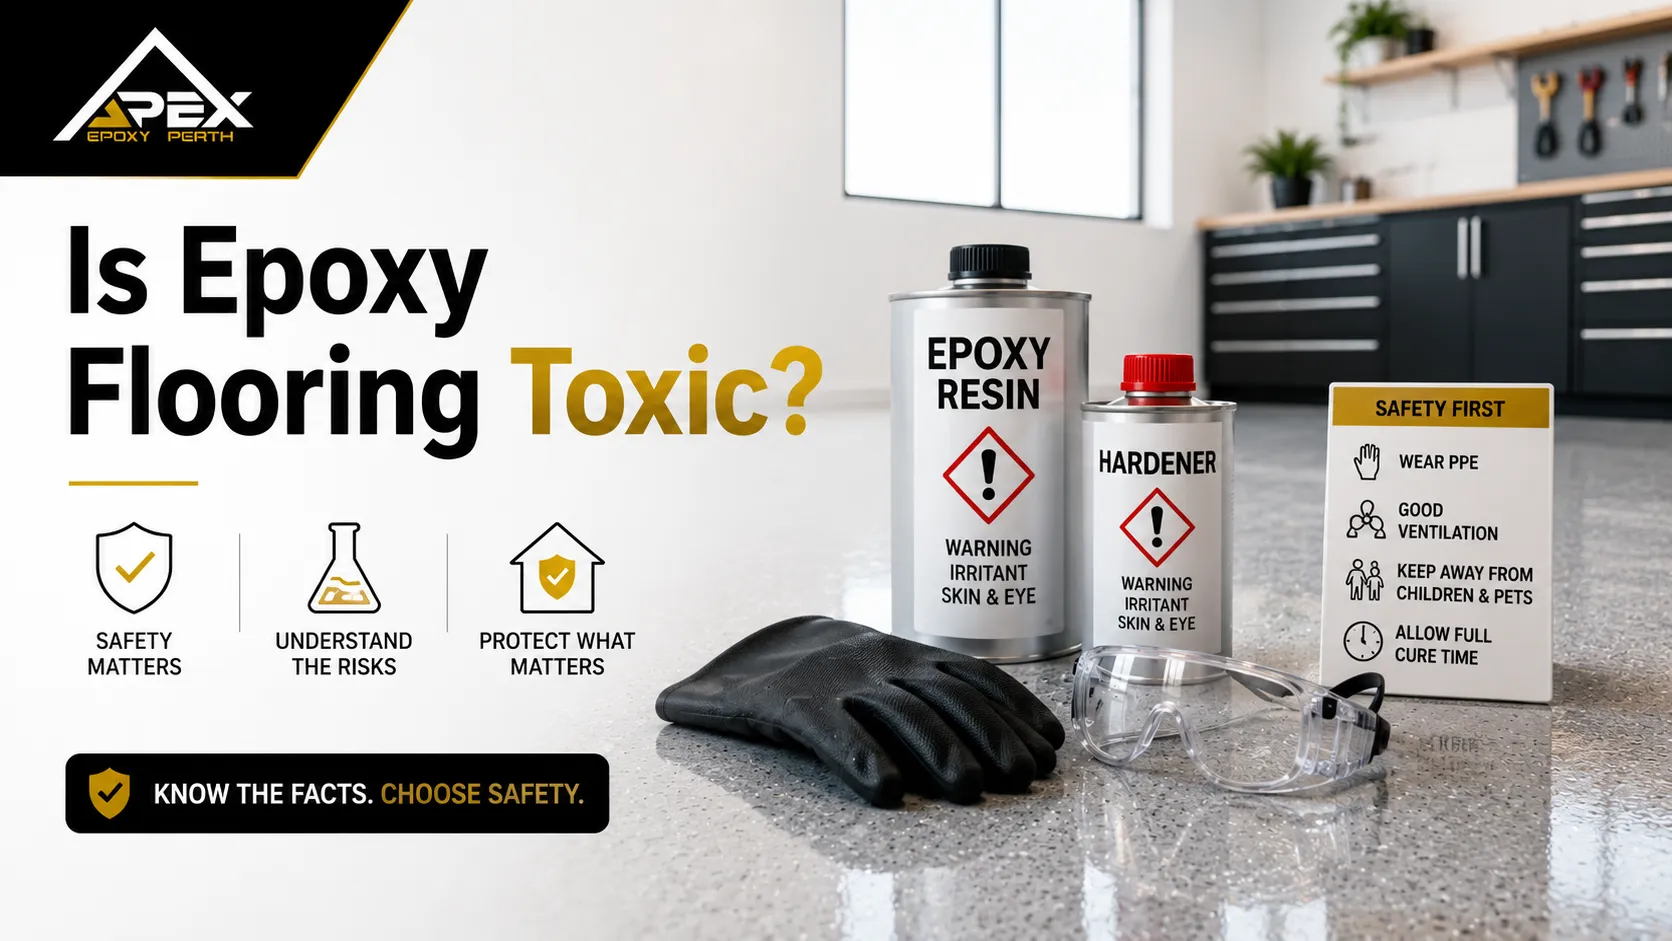
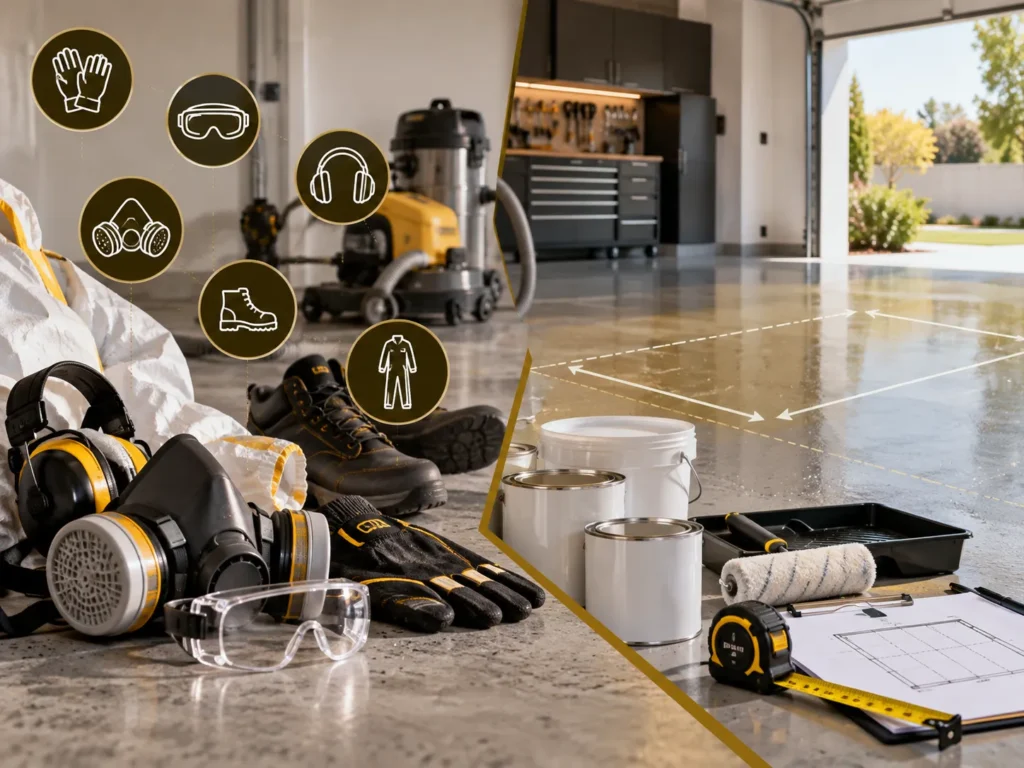
Epoxy installation involves chemical handling, concrete preparation and potentially hazardous dust. Select protective equipment for each activity rather than relying on one type of mask or glove throughout the project.
Essential safety equipment includes:
- Chemical-resistant gloves: Use gloves specified in the coating’s Safety Data Sheet (SDS).
- Safety goggles: Protect your eyes from chemical splashes and flying debris.
- Suitable respiratory protection: Select protection for the particular dust or chemical exposure identified in the SDS and equipment instructions.
- Protective clothing: Cover exposed skin when mixing and applying epoxy.
- Hearing protection: Wear it when using concrete grinders and other noisy equipment.
- Safety footwear: Protect your feet while handling equipment and materials.
How Much Epoxy Do You Need for Your Garage Floor?
The amount of epoxy you need depends on the garage’s floor area, concrete porosity, coating thickness and the manufacturer’s stated coverage rate.
Calculate the floor area by multiplying the garage’s length by its width:
Floor area (m²) = Length (m) × Width (m)
For example, a garage measuring 6 metres long and 6 metres wide has a floor area of 36 m². Allowing an additional 10% for minor wastage and variations in application gives a planning area of approximately 40 m².
If your chosen epoxy has a stated coverage rate of 8 m² per litre, you would need approximately 5 litres for one coat over that planning area.
This is an example calculation, not a universal epoxy coverage rate. Measure and purchase primer, base coat and topcoat separately according to their individual product requirements.
Porous or heavily ground concrete may absorb more primer. Textured flake finishes can also require more clear topcoat than smooth, solid-colour flooring.
How Should You Prepare a Concrete Garage Floor for Epoxy?
Preparing the concrete is one of the most important stages of DIY epoxy garage flooring. Epoxy needs a clean, sound and appropriately textured surface to form a reliable bond. Oil, dust, moisture, existing coatings and weak concrete can interfere with adhesion and cause the new coating to fail.
Complete the following preparation steps before mixing any epoxy.
Step 1: Empty and Inspect the Garage
Remove vehicles, tools, shelving and other items that restrict access to the floor. Sweep away loose debris and inspect the entire concrete surface.
Look for:
- Oil stains, grease and tyre marks.
- Cracks, pits and damaged concrete.
- Existing paint, sealers or peeling coatings.
- Damp patches, moisture marks and white powdery deposits.
- Smooth, polished or unusually dense concrete.
Check whether the slab is sound enough to receive epoxy. Loose or crumbling concrete needs repair, while persistent moisture or significant structural cracking requires further assessment.
If your garage has recently been concreted, confirm that the slab has cured sufficiently for your chosen coating system.
Step 2: Remove Oil, Grease and Contaminants
Remove oil, grease and other contaminants before grinding or etching the concrete. Otherwise, contamination can remain in the slab or spread across the floor during preparation.
Apply a suitable concrete degreaser to the affected areas according to its instructions. Scrub with a stiff-bristle brush, paying particular attention to old oil stains and heavily used parking areas. Remove the residue and repeat the treatment where necessary.
Allow the floor to dry and inspect it again. Deeply absorbed oil may require specialist treatment or removal of contaminated concrete.
Do not coat a slab that still contains oil residue. Grinding alone will not necessarily eliminate contamination that has penetrated below the surface.
Step 3: Remove Existing Paint, Coatings and Sealers
Existing paint, unsuitable sealers and deteriorating epoxy coatings should be removed before applying a new system.
A new epoxy coating relies on the adhesion of the surface beneath it. If the existing paint is already peeling, applying new epoxy over it will not correct the underlying problem.
Use an appropriate mechanical removal method, such as diamond grinding, to remove unsuitable coatings and expose sound concrete.
If an existing coating is firmly bonded, some systems permit recoating after specific preparation. Check the new coating manufacturer’s instructions before attempting this.
For older garages, identify unknown coatings before grinding or stripping them. Do not disturb potentially hazardous materials without a suitable assessment.
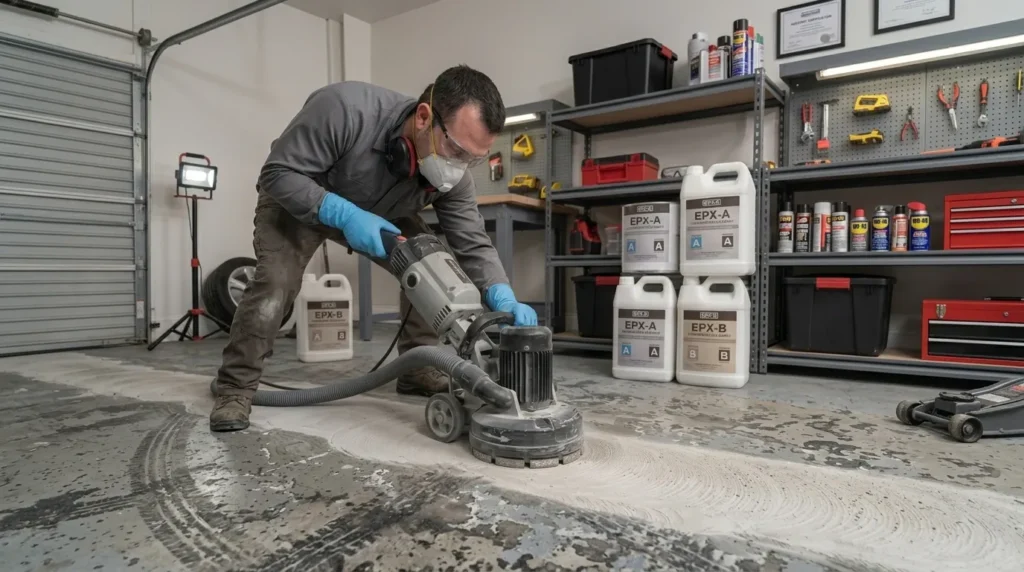
Step 4: Diamond Grind or Etch the Concrete
Diamond grinding prepares concrete by removing weak surface material, contamination and unsuitable existing coatings while creating a mechanical profile for epoxy adhesion.
Use a concrete grinder fitted with the appropriate grinding tools and dust control equipment. Prepare the floor evenly, including the edges and corners, without unnecessarily removing sound concrete.
The finished surface should have a profile suitable for the selected epoxy system. Avoid polishing the slab smooth, as this can reduce mechanical adhesion.
If grinding is outside your experience or you do not have the necessary silica dust controls, arrange professional surface preparation rather than attempting uncontrolled dry grinding.
Diamond Grinding vs Acid Etching: Which Is Better for Epoxy?
Diamond grinding is generally the more reliable preparation method for dense garage concrete, previously coated floors and professional multi-layer epoxy systems.
Acid etching can be an acceptable alternative for certain bare concrete surfaces when specifically permitted by the coating manufacturer. However, it does not remove existing paint, heavy oil contamination or unsuitable sealers.
| Factor | Diamond grinding | Acid etching |
| Preparation method | Mechanically removes surface material | Chemically reacts with exposed cement paste |
| Existing coating removal | Can remove suitable old coatings with the correct equipment | Not suitable for removing existing coatings |
| Dense or smooth concrete | Provides a controllable mechanical profile | May produce an insufficient or inconsistent profile |
| Main hazards | Silica dust, noise and machinery | Chemical burns, fumes and contaminated runoff |
| Additional requirements | Specialist grinder and effective dust control | Acid-compatible PPE, correct application and thorough rinsing |
| General suitability | Appropriate for many garage epoxy systems | Only where the product manufacturer permits it |
Acid etching also introduces chemical handling and wastewater disposal risks. If your chosen kit permits it, follow the manufacturer’s complete preparation and safety instructions rather than using a generic acid mixture.
For a worn or previously coated garage floor, mechanical preparation is usually the more practical approach.
Step 5: Repair Cracks, Pits and Surface Damage
Repair suitable cracks, holes and damaged concrete after surface preparation and before applying the epoxy primer.
Remove loose material from each damaged area. Use a concrete repair product compatible with the selected epoxy system and the type of defect.
For stable, non-structural cracks, this may involve filling the crack with an appropriate epoxy or polyurea repair compound and finishing it flush with the surrounding floor.
Pitted or spalled areas may require a suitable repair mortar or epoxy-based filler. Allow each repair to cure according to its technical instructions and prepare the finished surface before coating.
Do not treat actively moving cracks as ordinary cosmetic damage. Movement in the concrete can cause repaired cracks to reappear through the epoxy.
Should Concrete Control and Expansion Joints Be Filled?
Control joints and expansion joints should not automatically be filled with rigid epoxy and coated over.
These joints accommodate or control concrete movement. Filling them with an unsuitable rigid material may cause cracking or damage when the slab moves.
Determine the function of each joint before choosing a repair method. Where movement must be maintained, use an appropriate flexible joint treatment compatible with the flooring system.
Step 6: Remove Grinding Dust and Clean the Surface
After grinding and completing repairs, remove all remaining dust, loose particles and debris.
Use a suitable M- or H-class dust extractor as required by the dust control system. Pay particular attention to corners, edges, cracks and repaired areas.
Do not use compressed air or ordinary dry sweeping to disperse residual silica dust around the garage.
If wet cleaning is required, remove the residue safely and allow the slab to dry before proceeding.
The concrete must be free from loose material and surface contamination before applying the primer.
Step 7: Let the Concrete Dry Completely Before Coating
The concrete must meet the epoxy manufacturer’s moisture requirements before installation.
A floor can appear dry while retaining enough moisture to interfere with certain epoxy systems. Moisture travelling through the slab can also cause blistering and loss of adhesion.
Check the following before coating:
- The concrete meets the product’s specified moisture limit.
- There is no evidence of persistent rising moisture.
- Water used during cleaning or etching has been removed and the slab has dried adequately.
- The garage temperature and humidity meet the coating’s application requirements.
Use the moisture testing method specified by the manufacturer. A taped plastic-sheet test can indicate a possible moisture issue, but a negative result does not establish that the slab meets every coating’s requirements.
Where necessary, arrange a professional moisture assessment before proceeding.
How to Apply Epoxy to a Garage Floor
Once your garage floor is correctly prepared, you can begin applying the epoxy coating system. Follow the manufacturer’s technical data sheet for mixing ratios, application rates, recoat windows and curing requirements.
The following process describes a typical multi-layer garage epoxy system. Some DIY kits combine stages or omit the separate primer and topcoat, so adapt the sequence to your chosen product.
Step 1: Check Temperature, Humidity and Product Requirements
Check the weather conditions and the temperature of the garage and concrete before opening the coating containers.
Temperature affects how quickly epoxy reacts and cures. High temperatures can shorten working time, while low temperatures can delay curing. High humidity and condensation can also affect the finish.
Read the product’s application limits rather than assuming every epoxy system behaves the same way. For example, Sika’s Australian Sikafloor-264 specifications include an application range of 10–30°C and a maximum relative humidity of 80%. Those limits apply to that product, not every epoxy coating.
In Perth, a hot garage slab can be considerably warmer than the surrounding air. Check the concrete temperature as well as the room temperature.
Step 2: Mask Edges and Plan Your Working Route
Apply painter’s tape to walls, skirting, thresholds and other surfaces that need protection.
Divide the garage into manageable sections and decide where you will start and finish. Work from the farthest part of the garage towards the exit so you do not become trapped behind freshly coated flooring.
Place your equipment and materials where they can be reached without walking over wet epoxy.
If you are applying decorative flakes, organise them before starting the base coat. You will need to broadcast them while the coating is still wet.
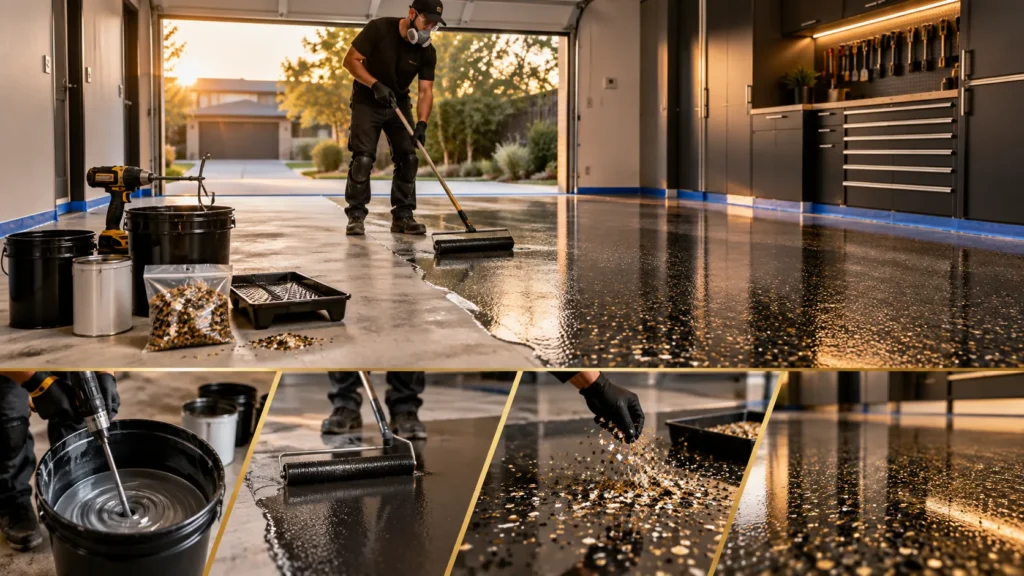
Step 3: Mix the Epoxy Resin and Hardener Correctly
Two-part epoxy consists of resin and hardener that must be combined in the manufacturer’s specified ratio.
Check whether the ratio is measured by volume or by weight. These measurements are not interchangeable unless the manufacturer explicitly states otherwise.
Measure the components accurately if your product requires separate measurement. Use a suitable mixing paddle at the recommended speed, scraping the sides and bottom of the container to incorporate all the material.
Some systems require transferring the mixed epoxy into a second clean container and mixing again to prevent unmixed material from being applied.
Do not add water, solvent or extra hardener unless the technical data sheet specifically permits it.
Why Epoxy Mixing Ratio and Pot Life Matter
The mixing ratio determines whether the epoxy can cure as intended. Adding too much or too little hardener can leave the coating soft, sticky or defective.
Pot life is the limited period during which mixed epoxy remains workable. It depends on the product, quantity and temperature.
For example, Sika lists an approximate pot life of 25 minutes at 20°C for Sikafloor-264, falling to approximately 15 minutes at 30°C.
Measure, mix and apply only the quantity you can use within the specified working time. Leaving a large quantity of mixed epoxy in its container can cause it to heat up and react more quickly.
Step 4: Apply the Epoxy Primer
Apply primer if it is required by your chosen flooring system.
Cut in along the walls, corners and other difficult areas using a suitable brush. Apply the primer to the main floor area using the manufacturer’s recommended roller or squeegee.
Spread it evenly at the specified coverage rate. Avoid leaving puddles, overly thick areas or missed patches.
Porous concrete may absorb primer unevenly and require additional treatment under the selected system.
Allow the primer to reach the correct recoating stage before applying the epoxy base coat. Do not exceed its maximum recoat window without completing the required additional preparation.
Step 5: Apply the Epoxy Base Coat
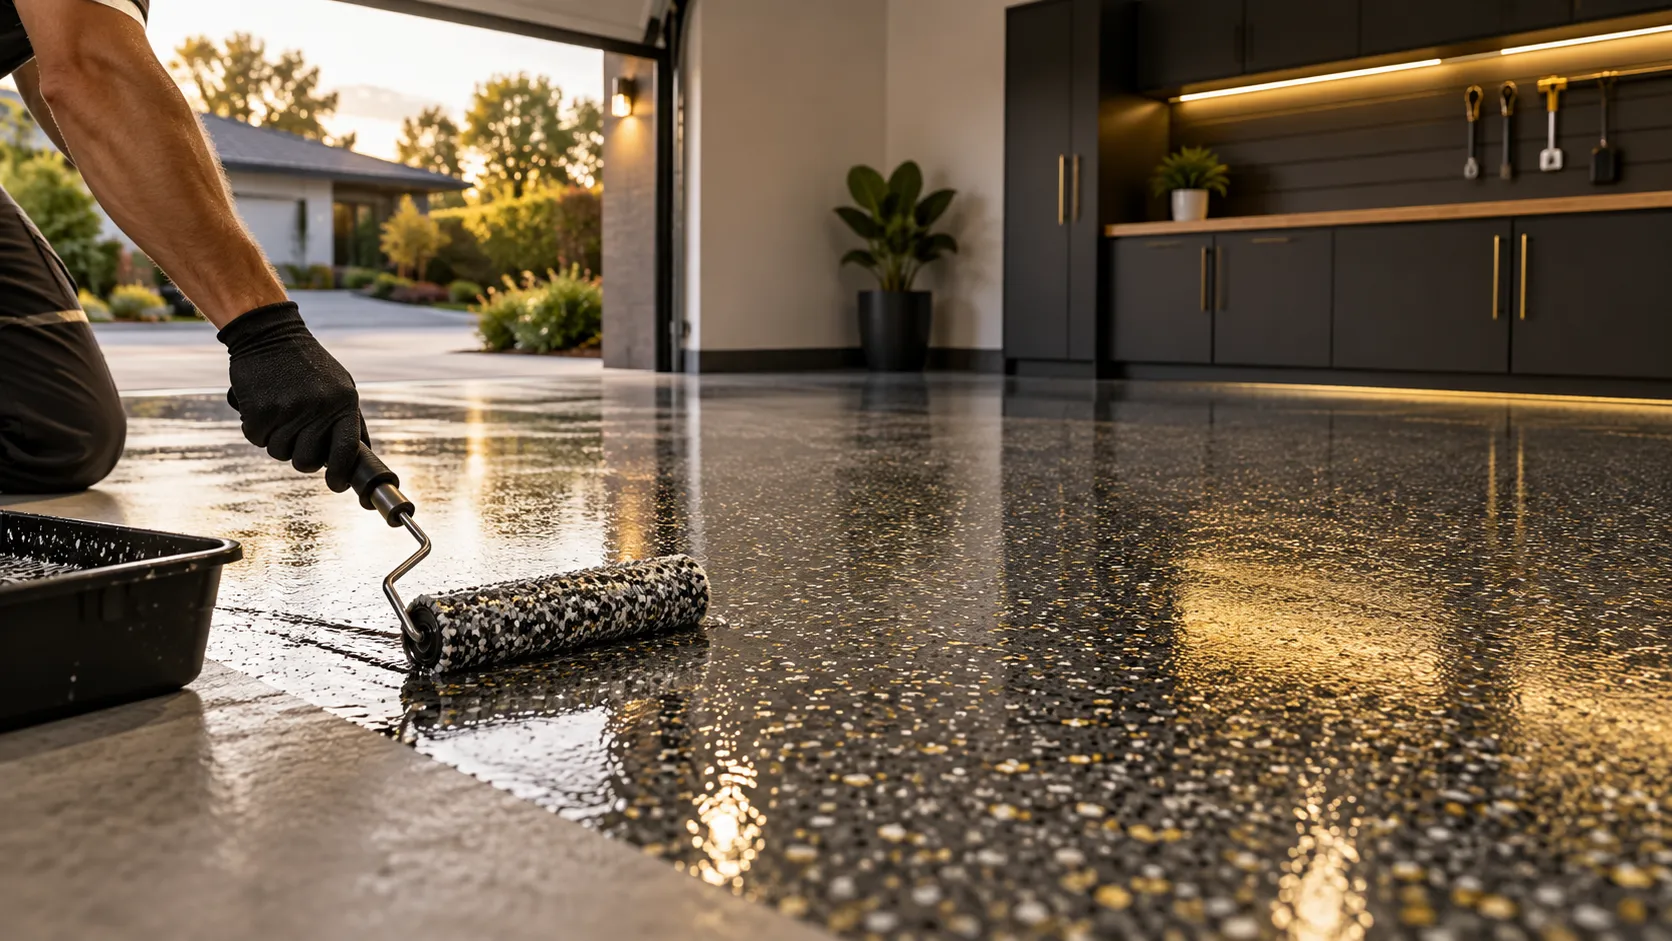
Mix the coloured epoxy base coat according to its instructions and begin application from the farthest corner of the garage.
Distribute the coating in manageable sections using the recommended roller or squeegee. Maintain a consistent application rate and overlap adjoining sections while the material is workable.
Check the floor as you progress to identify missed areas, excessive buildup or roller marks.
If your chosen system requires a second coloured coat, follow its minimum and maximum recoat intervals.
For decorative flake flooring, organise the work so the flakes can be applied while the specified base coat remains wet.
Step 6: Broadcast Decorative Flakes
Decorative flakes are optional, but they can give a DIY garage floor a more uniform appearance and make minor dirt, tyre marks and surface imperfections less noticeable.
Broadcast the flakes across the wet base coat according to your chosen coverage style.
For a partial-flake finish, distribute them consistently across each section. For a full-flake finish, apply enough material to cover the wet base coat as specified by the system.
Throw the flakes upwards and outwards rather than dropping them in concentrated piles. Work across the floor in sections to maintain consistent coverage.
Do not attempt to add flakes after the base coat has passed the specified application window.
Step 7: Scrape and Remove Loose Flakes
Allow the flake-coated base layer to cure sufficiently for the next preparation stage.
For a full-flake system, use an appropriate floor scraper to remove protruding flakes and create a more consistent surface. Avoid excessive scraping that damages the underlying coating.
Remove the loose flakes and remaining debris using the appropriate cleaning equipment. Inspect the floor for uneven areas before applying the clear topcoat.
The finish should be ready for sealing without loose material that could interfere with the topcoat.
Step 8: Apply the Clear Topcoat
Apply a compatible clear topcoat according to the manufacturer’s coverage and application instructions.
The topcoat protects the decorative flakes and base coat from daily wear, staining and abrasion. Where required, it can also provide additional UV stability or slip resistance.
Cut in around the edges and apply the coating evenly across the main floor area. Avoid excessive buildup, puddles and missed patches.
Some textured or full-flake systems require more topcoat than smooth flooring. Follow the specified consumption rate rather than stretching the product to cover a larger area.
Once the final coat has been applied, protect the floor from dust, moisture and traffic throughout its required curing period.
Should You Add an Anti-Slip Additive?
An anti-slip additive can improve traction on garage floors that may become wet from vehicles, washing or water entering through the garage door.
Select an additive approved for your chosen coating system and apply it at the manufacturer’s recommended rate.
Keep in mind that increased texture can make sweeping and cleaning more difficult. A heavily textured finish may be unnecessary for a dry residential garage, while a glossy finish can become slippery when wet.
Choose the finish according to how your garage will be used.
How Long Does a DIY Epoxy Garage Floor Take to Cure?
A DIY epoxy garage floor can take several days to become suitable for vehicle traffic, but the exact curing time depends on the product, coating thickness and environmental conditions.
The floor may feel dry before it has developed sufficient strength for normal use. Walking on the surface, moving heavy equipment and parking vehicles are different stages of curing.
| Coating example | Light foot traffic | Vehicle or light traffic | Full cure |
| Rust-Oleum EpoxyShield garage floor coating | Approximately 1–2 days | Approximately 3 days for vehicles | Follow product instructions |
| Sika Sikafloor-264 at 20°C | Approximately 24 hours | Approximately 4 days for light traffic | Approximately 7 days |
These are manufacturer-specific examples, not guaranteed curing times for every epoxy product. Actual times can change with temperature and humidity.
Before using your garage, check the curing guidance for the final coating layer, particularly if you have applied a separate clear topcoat.
Avoid parking vehicles, turning tyres or dragging equipment across the floor before the coating is ready. Premature traffic can leave marks or damage an incompletely cured surface.
What Are the Most Common DIY Epoxy Garage Floor Mistakes?
Most avoidable DIY epoxy problems begin during preparation, mixing or application. The following mistakes can affect coating adhesion, appearance and durability.
1. Coating Concrete Without Testing for Moisture
Excess moisture can interfere with adhesion and cause blistering or peeling. Test the concrete using a method accepted by the coating manufacturer and investigate any signs of rising damp.
2. Applying Epoxy Over Oil, Sealers or Old Coatings
Residual oil, unsuitable sealers and loose coatings prevent reliable adhesion. Remove contamination and unsuitable existing finishes before applying the new system.
3. Skipping or Rushing Surface Preparation
Smooth, weak or contaminated concrete may not provide the profile needed for epoxy to bond. Prepare the slab using the method required for the chosen product, rather than treating surface cleaning as a substitute for preparation.
4. Leaving Grinding Dust on the Concrete
Residual dust can create a weak layer between the coating and the concrete. Remove all loose material using suitable dust control and cleaning equipment before priming.
5. Repairing Cracks Incorrectly
An unsuitable filler or inadequate preparation can allow cracks to reappear through the coating. Use compatible repair products and assess whether cracks are stable or actively moving.
6. Mixing the Epoxy at the Wrong Ratio
Incorrect resin-to-hardener proportions can affect curing and leave soft or sticky areas. Follow the specified ratio and measurement method exactly.
7. Mixing More Epoxy Than You Can Apply Within Its Pot Life
Epoxy starts reacting once the components are combined. Mixing too much at once can cause the material to thicken or become unusable before it reaches the floor. Work in manageable quantities.
8. Applying Epoxy in Unsuitable Temperature or Humidity
Heat can reduce working time, while low temperatures, high humidity or condensation can interfere with application and curing. Check the product’s conditions before beginning each coating stage.
9. Running Out of Material Mid-Coat
Stopping halfway through a section may leave uneven joins or inconsistent coverage. Calculate each layer’s requirements in advance and allow for surface porosity and reasonable wastage.
10. Missing the Recoat Window
Applying the next coat too early can interfere with curing. Waiting beyond the maximum recoat window may require additional preparation to achieve proper intercoat adhesion. Follow the product’s minimum and maximum times.
11. Driving on the Floor Before It Has Fully Cured
Vehicle weight and tyre movement can damage an incompletely cured coating. Keep vehicles outside until the manufacturer confirms the floor is ready for vehicle traffic.
Why Does a DIY Epoxy Garage Floor Peel, Bubble or Stay Sticky?
Peeling, bubbling and persistent stickiness can have different causes. Identifying the problem is necessary before attempting a repair or applying another coating.
| Problem | Possible cause | What to do |
| Peeling or flaking | Poor surface preparation, contamination, trapped moisture or unsuitable existing coatings | Identify and correct the underlying cause before removing failed coating and preparing the affected area. |
| Bubbles or pinholes | Air escaping from porous concrete, moisture or unsuitable application conditions | Assess the cause and follow the coating manufacturer’s repair procedure once the surface is stable. |
| Sticky or soft epoxy | Incorrect mixing ratio, incomplete mixing, unsuitable temperature or insufficient curing time | Check the specified curing period and conditions. If the material remains defective, seek product-specific repair advice. |
| Uneven colour or appearance | Inconsistent application thickness, batch differences or uneven flake distribution | Assess whether a compatible additional coat is permitted after the appropriate preparation. |
Do not assume that applying another coat will fix an existing defect. A coating that has lost adhesion, trapped moisture or failed to cure may need to be removed before the floor can be repaired properly.
How Much Does a DIY Epoxy Garage Floor Cost?
The cost of a DIY epoxy garage floor depends on the floor area, the selected coating system, the condition of the concrete and the equipment needed for preparation.
In Australia, an entry-level garage epoxy kit can cost a few hundred dollars, while a complete multi-layer flake system and hired preparation equipment can increase the total substantially.
The following table shows example retail kit prices available in Australia in September 2026. Prices and availability may change.
| DIY kit example | Approximate price |
| Rust-Oleum EpoxyShield 1-car kit | A$158 |
| Rust-Oleum EpoxyShield 2.5-car kit | A$382 |
These are examples of retail kit prices, not complete installed project costs.
Materials and Equipment That Affect DIY Cost
Beyond the main epoxy kit, allow for any additional materials your project requires. A basic single-coat kit and a complete multi-layer flake system are not directly comparable.
Your total may include:
- Concrete degreaser and cleaning supplies.
- Crack repair products.
- Primer, epoxy base coat and clear topcoat, where sold separately.
- Decorative flakes and anti-slip additives.
- Brushes, rollers, mixing equipment and masking materials.
- Suitable protective equipment and waste disposal.
When comparing kits, check the actual floor coverage, number of coats and included components. A kit advertised for a double garage may not cover a highly porous floor at your required application thickness.
Equipment Hire and Surface Preparation Costs
If your concrete requires mechanical preparation, include the cost of hiring suitable grinding and dust extraction equipment.
Hire costs depend on the machine, grinding consumables, accessories, hire duration and local supplier.
For a previously painted, heavily contaminated or damaged slab, preparation can become a significant part of the overall DIY budget. If you are not equipped to grind concrete safely, professional surface preparation may be preferable.
DIY Epoxy vs Professional Garage Epoxy Flooring
A DIY kit generally has a lower upfront material cost, but professional installation includes labour, preparation equipment and responsibility for the installation process.
Apex Epoxy Perth’s September 2026 cost guide estimates professionally installed garage epoxy flooring at approximately A$60–A$120 per m². A standard double garage of around 36–40 m² commonly costs approximately A$2,500–A$4,500, depending on the slab and coating system. These figures are planning estimates, not fixed quotations.
| Factor | DIY epoxy flooring | Professional installation |
| Upfront cost | Lower material cost, plus equipment and preparation | Higher price covering specified labour and materials |
| Concrete preparation | Homeowner must assess and complete or arrange it | Installer assesses and prepares the slab |
| Product selection | Usually limited to selected kits or compatible DIY systems | Coating system selected for the slab and intended use |
| Application | Homeowner manages mixing, timing and coverage | Experienced installers manage the coating process |
| Complex repairs | May require outside assistance | Can be assessed and included in the installation scope |
| Workmanship warranty | No installer workmanship warranty for self-installation | Depends on the contractor’s warranty terms |
For a more detailed breakdown, see our epoxy flooring cost guide .
Should You DIY or Hire a Professional for Your Garage Epoxy Floor?
DIY epoxy garage flooring can be a practical option when the concrete is sound, dry and relatively straightforward to prepare. It is particularly suitable if you can follow product instructions carefully, have the required tools and are prepared to keep the garage out of use throughout installation and curing.
Professional installation becomes worth considering when the slab has persistent moisture, extensive cracking, heavy contamination or difficult existing coatings. It may also be preferable if you want a full-flake system, specialist topcoat or a workmanship warranty without taking on the preparation and application yourself.
At Apex Epoxy Perth, we prepare garage floors using professional concrete grinding, suitable crack repairs and coating systems selected for the slab and intended use. Our installations are backed by a 5-year workmanship warranty.
If you are considering garage epoxy flooring in Perth but are unsure whether your concrete is suitable for DIY, contact our team for a free site inspection and an obligation-free quote.